Utterances 적용하기
Utterances 소개#
Utterances는 GitHub Issue 기반으로 Comment를 작성할 수 있게 해줍니다.
Utterances의 장점
- GitHub Issue 기반이기 때문에 블로그 플랫폼을 이전해도 기존 Comment을 그대로 가져갈 수 있음
- 개발 블로그 라면 Github 계정으로 댓글을 작성할 수 있기 때문에 사용성이 용이함
- 뭔가 있어 보임, 유명한 블로그는 이거 쓰는 거 같음
Utterances 적용하기#
Utterances는 정말 간단하게 적용할 수 있습니다. (https://utteranc.es) 으로 이동합니다.
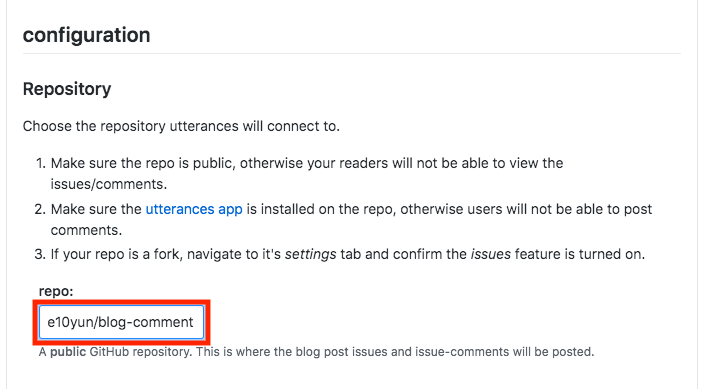
위 문서대로 진행하면 됩니다.
repo 설정은 owner/repo 형식 그대로 cheese10yun/blog-comment 처럼 사용하면 됩니다.
Blog Post ↔️ Issue Mapping 설정은 자신의 블로그 플랫폼에 맞게 설정합니다.
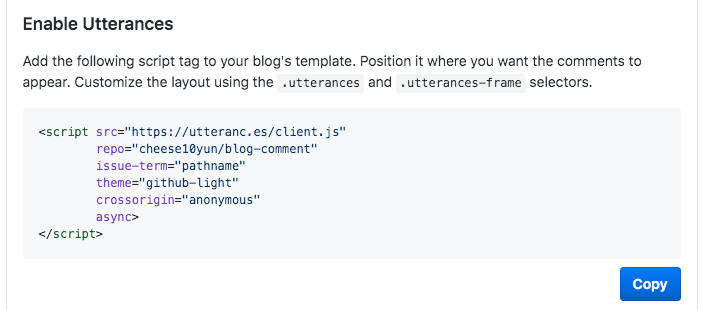
최종적으로 Copy을 누르면
1 | <script src="https://utteranc.es/client.js" |
위 같은 코드가 복사되는 것을 확인할 수 있습니다. 이제 사용 중인 블로그 플랫폼에 해당 코드를 적용하면 됩니다. 저는 Hexo Blog을 사용하고 있어 Hexo 기준으로 설명드리겠습니다.
Hexo에 Utterances 적용#
1 | # _config.yml |
위에서 생성된 코드의 값들을 설정 파일로 분리 시켰습니다. 이제 설정값 기반으로 컴포넌트를 만들면 됩니다
1 | # /themes/beantech/layout/comment.ejs |
Comment 컴포넌트를 만들었으면 Post Layout에 Comment 컴포넌트를 추가하겠습니다.
1 | # /themes/beantech/layout/post.ejs |
post.ejs에 위의 코드를 입력합니다.
1 | hexo server --watch --draft |
hexo를 실행하면

적용된것을 확인 확인할 수있습니다.
목차